RGNL-60 Thermal Break Casement Window China Supplier Installation
Treat installation as a coordinated interface between the confirmed RGNL-60 unit, the prepared opening and the project-specific water, air and finish layers. Approve those details before shipment instead of deciding them after the windows arrive.
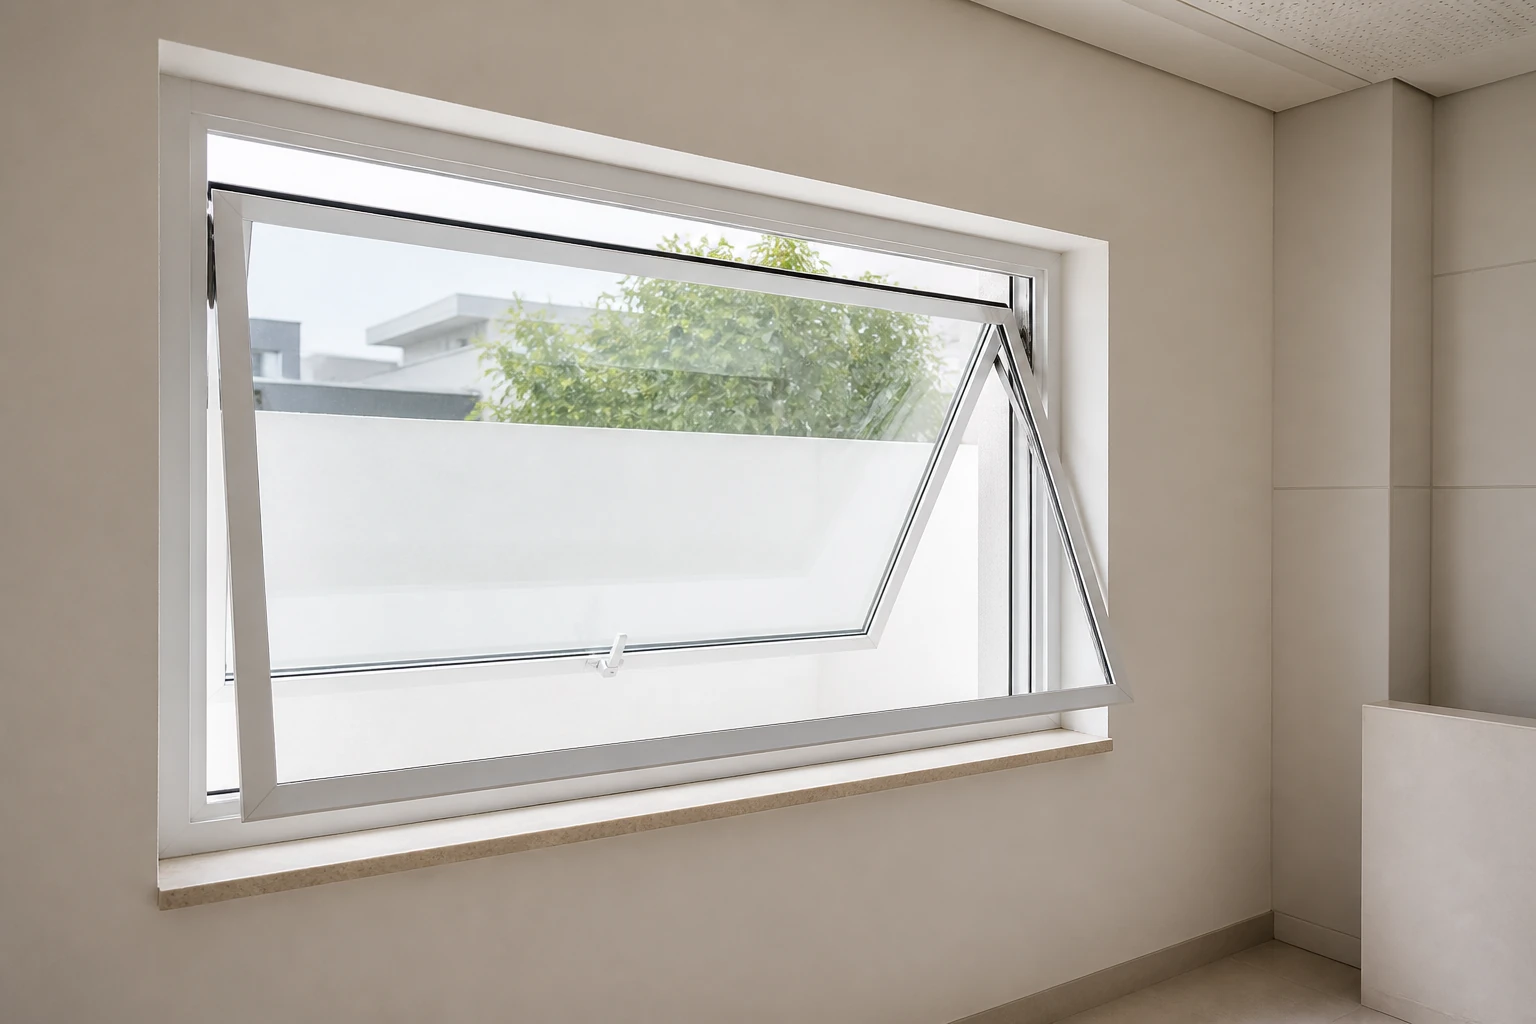
Direct Answer for RGNL-60 Installation Planning
The official RGNL-60 Series Aluminum Casement Windows page identifies a 60 mm thermal-break system, 6063-T5 aluminum profile, 1.6 mm aluminum thickness and inward, tilt-and-turn, outward or awning opening choices. It does not publish one universal anchoring, sealant or sill detail for every wall type.
Before production release, send the China supplier the wall build-up, structural opening, exterior exposure, sill condition and interior finish limits. Ask for dimensioned head, jamb and sill sections that identify the proposed frame position and required clearances. The project designer and installer should approve the final fixing, flashing, drainage and perimeter-seal approach for the actual substrate and local requirements.
Verified RGNL-60 Quick Specs
| Item | Verified product basis | Installation control |
|---|---|---|
| Product | RGNL-60 Series Aluminum Casement Windows | Keep the exact series and window mark on every returned detail. |
| System width | 60 mm | Coordinate the frame position with the wall and reveal drawings. |
| Profile | 6063-T5 thermal-break aluminum | Do not bridge or obscure the intended frame interfaces with an improvised site detail. |
| Aluminum thickness | 1.6 mm | Verify the delivered frame against the approved product schedule. |
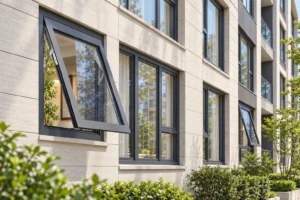
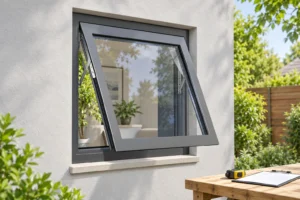
| Opening modes | Inward, tilt-and-turn, outward and awning | Confirm swing or projection clearances before fixing the frame. |
| Glass families | Tempered, double/triple tempered, laminated, Low-E, reflective and tinted glass are listed. | Approve the actual glass before final handling and installation planning. |
| Listed double glazing | 5 mm + 15Ar + 5 mm | Treat this as one listed option, not a default for every opening. |
| Surface treatments | Powder coating, anodized wooden grain and PVDF coating are listed. | Protect the approved finish during storage, lifting and perimeter work. |
Coordinate Four Installation Interfaces
Opening and Frame Position
Record the verified structural opening separately from the ordered frame size. Show datum levels, reveal depth, interior and exterior faces, packer locations and the intended frame position within the wall.
Fixing and Support
Ask the responsible project team to define the substrate, approved anchors, support points and permitted fixing zones. The product page does not support a universal fixing pattern, so do not infer one from a different system.
Water and Air Layers
Trace the sill drainage path and the continuity of the exterior weather layer and interior air-control layer. Require the returned detail to show how perimeter materials connect without blocking drainage.
Movement and Finishes
Coordinate sealant joints, trim, render, cladding, stone and interior linings around the frame. Keep weep or drainage paths clear, and avoid finish build-up that restricts sash movement or hardware access.
Installation Approval Sequence
- Freeze the product configuration. Confirm window marks, opening modes, frame finish, glass and accessories.
- Survey the openings. Record width, height, diagonals, level, plumb, sill condition and substrate by opening.
- Approve the interfaces. Review head, jamb and sill sections plus fixing, drainage, perimeter sealing and finish transitions.
- Plan delivery and storage. Define access, lifting, protection, storage orientation and the responsible installation sequence.
- Use a controlled first unit. Review one representative installation before repeating the detail across comparable openings.
- Close out by window mark. Record operation, visible damage, seal continuity, drainage access, glass identification and unresolved exceptions.
This sequence is a procurement and coordination checklist. The final method must follow the project drawings, substrate conditions and applicable local requirements.
What Changes the Installation Quote
Compare quotations only when the installation scope is defined. A product-only price and a supplied-and-installed price cover different responsibilities.
- Number and size of window marks
- Opening mode and sash projection
- Wall, cladding and sill construction
- Access, floor level and lifting plan
- Fixings, packers and perimeter materials
- Flashing, membrane and sealant scope
- Interior and exterior trim interfaces
- Removal or preparation of existing openings
- Protection, cleaning and waste handling
- Inspection, adjustment and handover records
RFQ Package for Installation Coordination
Send a window schedule, elevations, opening survey, wall sections, sill and cladding details, project location, floor levels, access restrictions, selected opening modes, glass, finish, quantities and delivery destination. State who supplies fixings, perimeter seals, membranes, flashings, trims, lifting, protection and final adjustment. Ask Rogenilan to return the frame dimensions and product-side interface information that the local designer and installer need to complete the project detail.
FAQ
Does the RGNL-60 product page provide one installation detail?
No. It verifies the system and product options but does not publish one universal anchoring, flashing or perimeter-seal detail for every substrate. Request project-specific sections before release.
Which dimensions should be confirmed before ordering?
Record the structural opening and the proposed frame size as separate values. Include width, height, diagonals, sill level, reveal depth and the frame position required by the wall detail.
Can the frame be fixed before the glass and opening mode are approved?
The ordered configuration should be frozen first. Glass, sash geometry and opening direction affect handling, clearances and the inspection checklist.
What should the first installed unit verify?
Review frame position, level and plumb, operation, clearances, visible finish condition, perimeter interfaces, drainage access and any difference from the approved drawing before repeating the detail.
Who approves the final installation method?
The responsible project designer and installer should approve it for the actual wall, structure, exposure and local requirements, using product information returned for the confirmed RGNL-60 configuration.
Request an RGNL-60 Installation Interface Review
Send Rogenilan your window schedule, opening survey, elevations, wall sections, sill detail, selected glass and finish, quantities, project location and delivery destination. The team can review the confirmed product-side information for your project quotation and installation coordination.