RGNL-110 Sliding Door China Supplier Installation Requirements
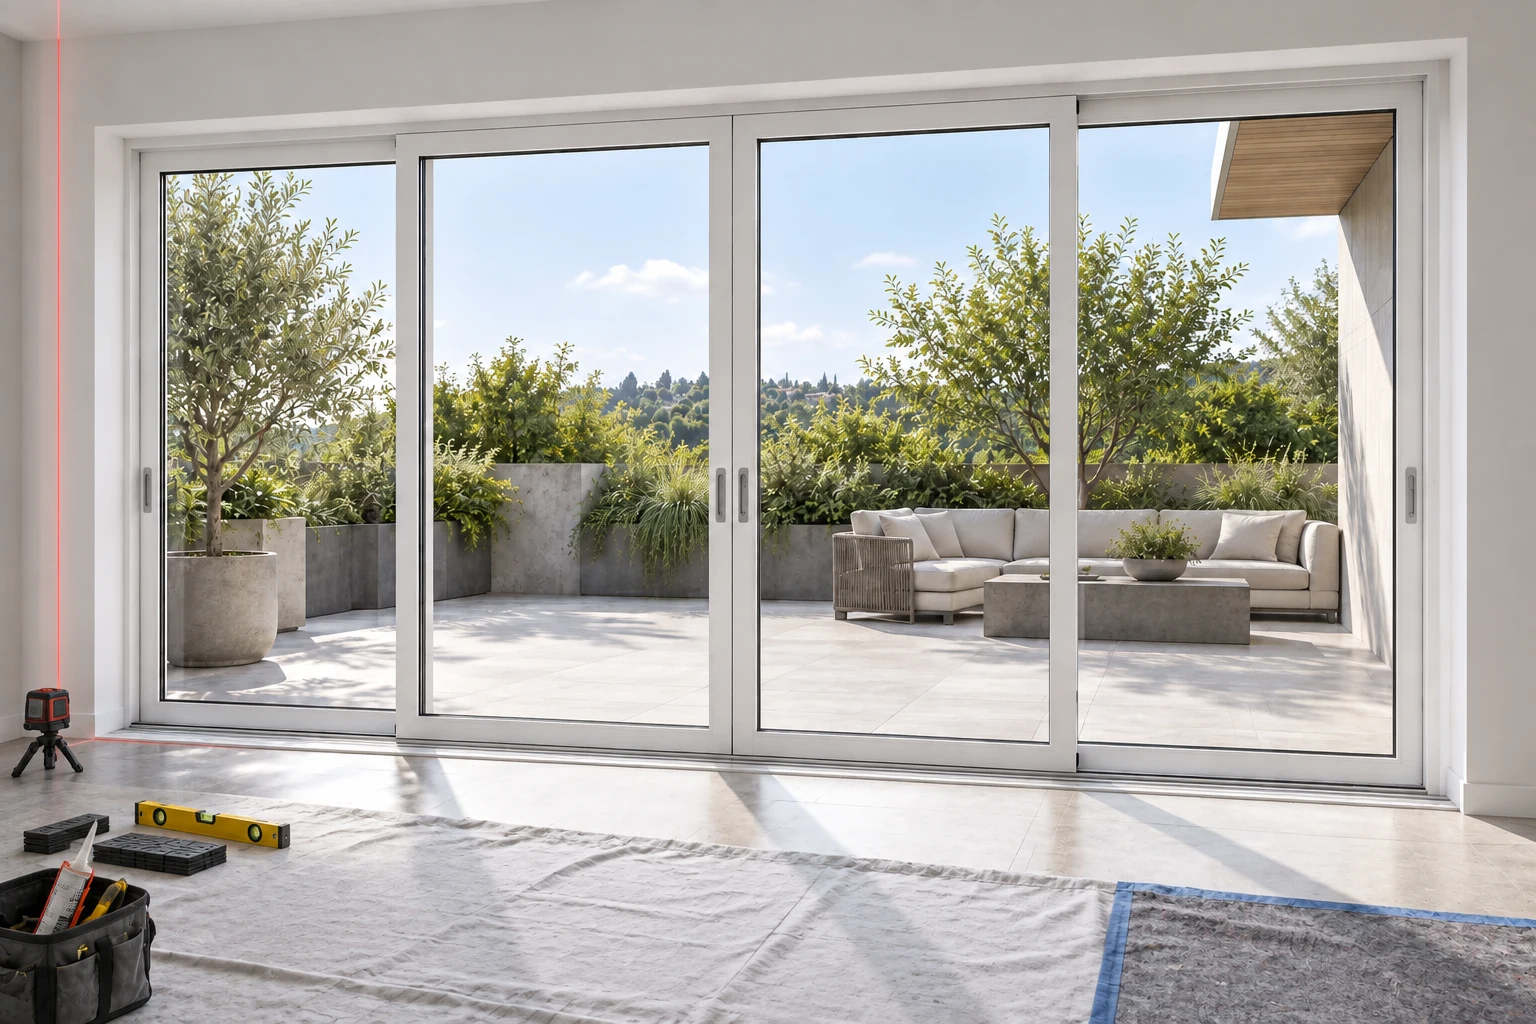
RGNL-110 installation planning should begin before production. Overseas buyers need an approved door elevation, track selection, opening survey, sill and wall-interface details, fixing and sealing method, glass coordination, access plan and handover checklist that match the project’s local requirements.
Coordinate the Product and Building Opening
The official RGNL-Aluminium 110 Series Soundproof Sliding Doors page is the product baseline for this installation article. The Sliding Doors category confirms its public product taxonomy.
The page publishes track, profile, glass and finish information, but it does not provide one universal fixing, perimeter gap, flashing, drainage, sealant or structural-support detail for every building. The responsible project team should approve those interfaces for the actual wall, floor, exposure, regulations and selected door configuration.
RGNL-110 Quick Specs for Installation Planning
| Item | Published RGNL-110 data | Installation decision |
|---|---|---|
| Product | RGNL-Aluminium 110 Series Soundproof Sliding Doors | Use the exact series and approved drawing revision |
| Track configuration | Two-track 110 mm; three-rail 175 mm | Coordinate sill width, floor finish and panel arrangement |
| Profile basis | 6063-T5 thermal-break aluminum; 1.6 mm aluminum thickness | Review frame support and interfaces on the returned section |
| Viewable-area value | 82 mm, using the source page’s label | Confirm its location and meaning on the approved shop drawing |
| Glass families | Tempered, double or triple tempered, laminated, Low-E, reflective or tinted | Confirm final pane build-up, mass and handling plan |
| Published glazing notation | Double glazing tempered, 5 mm + 15Ar + 5 mm | Obtain written clarification of every layer and cavity requirement |
| Surface treatment | “Powder Coating, Anodized Wooden Grain, PVDF Coating” | Protect the approved finish during transport and installation |
No installation tolerance, anchor spacing, sealant system, waterproofing detail or performance result is inferred from the public product table.
Two-Track and Three-Rail Interface Differences
110 mm two-track option
When the two-track layout is selected, reserve the published 110 mm system width in the coordinated sill and jamb details. The approved elevation should identify fixed and moving panels, opening direction, interior and exterior faces, and the required finished-floor relationship.
175 mm three-rail option
The public table lists 175 mm for the three-rail option. Its wider track zone needs a separate interface review for the floor build-up, threshold, supporting substrate, drainage path and access for cleaning. Do not substitute a two-track detail without written approval.
Opening Survey Before Release
Record the opening width and height at multiple locations, diagonal checks, sill level, jamb plumb, head condition and finished-floor levels. Note which surfaces are final and which still need render, cladding, tile or waterproofing. Photograph concealed conditions before they are covered.
Compare the survey with the approved shop drawing before fabrication release. Any site variance should be resolved through a documented revision, not absorbed by guessing a perimeter gap. Also confirm site access, storage, lifting route and protection plan for the selected panel and glass configuration.
Installation Hold Points
- Document check: verify door marks, opening direction, track choice, glass, finish and drawing revision.
- Opening acceptance: confirm the prepared substrate, levels and interface responsibilities before placing the frame.
- Frame review: check position, level, plumb, square and temporary support before final fixing.
- Interface completion: apply the approved fixing, flashing, drainage and sealing details for the project.
- Panel and hardware check: confirm operation, alignment, clearances and locking functions without forcing movement.
- Handover: record inspection results, cleaning, protection, adjustments and any outstanding work.
The sequence is a coordination framework, not a substitute for project-specific installation drawings, structural design or local code requirements.
Installation Cost and Schedule Factors
Installation pricing can change with unit dimensions, panel count, two-track or three-rail construction, glass build-up, building height, site access, lifting needs, substrate readiness, waterproofing scope, trims, protection, inspection and remedial work. Clarify whether the China supplier’s quotation covers only product supply or also installation drawings, accessories, supervision or site labor.
Keep the product, installation and construction scopes separate in the commercial return. This helps identify gaps before shipment and prevents a low headline price from hiding excluded interface work.
Installation Information to Send With the RFQ
- Project country, location and building type
- Door schedule and current drawing revision
- Opening survey and finished-floor levels
- Two-track or three-rail selection
- Panel layout and opening direction
- Wall, sill, head and jamb sections
- Waterproofing and drainage responsibility
- Final glass and finish specification
- Site access, storage and lifting constraints
- Required submittals and inspection records
- Protection and handover scope
- Delivery destination and work boundaries
Send the installation package to Rogenilan for product-specific interface review.
RGNL-110 Installation FAQ
Does RGNL publish one standard installation gap?
No universal perimeter gap is stated on the public product page. The gap and sealing design should follow the approved project detail, opening survey, substrate and local requirements.
What track widths must be coordinated?
The official table lists 110 mm for two-track construction and 175 mm for three-rail construction. The selected width should match the sill, floor and door drawings.
Should the opening be checked before production?
Yes. Record multiple width and height measurements, diagonals, levels, plumb conditions and unfinished surfaces, then resolve differences against the approved drawing before release.
Can the installer rely on the product page for waterproofing details?
No. The page does not publish a universal flashing, drainage or sealant design. These interfaces require an approved project-specific detail.
What should be included at handover?
Record operation, alignment, locking functions, interface inspection, protection, cleaning, adjustments and outstanding items according to the project’s approved inspection plan.
Review the RGNL-110 Installation Interface
Submit the opening survey, door schedule, track choice, wall and sill sections, glass, finish, access plan and delivery scope for a coordinated product review.